Bottom Forty is a record label, a mix series and a party for everybody and every body.
BOTTOM FORTY

Bottom Forty Close Friends Campout 2024
3 Nights on incredible beautiful queer-owned property with our closest babes, safe, free, and dancing under the stars, a weekend NOT to be missed. This year has an extremely special BIG headliner guest that will be announced later!
8/01-04
Bottom Forty Mix Series returns
Upcoming mixes from KK/Nark, Hyeonjie, Stevie303, Stefan Ways and many more, follow us on Soundcloud to hear!
New Mixes
Follow Bottom Forty Here
Party Time?
EVENTS
Secret Location
Bottom Forty Underground PRIDE (Friday)
JUN 28
MAY 25
B40 w/ Mouthfeel (SF)
Massive
JUN 29
Bottom Forty Underground Pride (Saturday)
Secret Location
AUG 1-4
Close Friends Campout 2024
North of Seattle
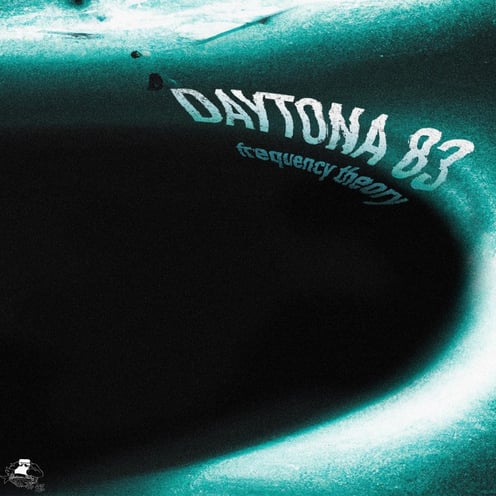

NEW on Bottom Forty Records
Frequency Theory
Dirty, dirty belters coming soon from Daytona 83's Bottom Forty premiere


ABOUT BOTTOM FORTY
FOR EVERYBODY AND EVERY BODY
Bottom Forty is a world-inspiration-powered, dance-centric, multi-media art project, record label and sensory enhancing mix series and party brought to you by Kevin Kauer / Nark, Pavone, Sappho, Sammy Calanthe and Hyasynth.
“Bottom Forty is a mirror ball in New York, a basement in Chicago, a cruise in L.A. and a night in the desert.”
Bottom Forty DJs:
Nark // Hyasynth // Pavone // Sappho // Sammy Calanthe
Bottom Forty Instagram


Available on Bandcamp / Spotify / etc
OTHER RELEASES
Agle
Revival EP
Harry Light
Rigid House Rules
Ali X x Ximena
Welcome To My World
